
Cute Valentine’s Day Nails
In the spirit of the day of St. Valentine and the holiday of love, I thought I would post a nail tutorial that is simple and adorable for the 14th.
Cute Valentine’s Day Nails
What you will need
- Base coat to protect your nails
- Pale pink polish of your choice
- Hot pink polish of your choice
- Top coat
- Dotting tool, toothpick, or tip of a bobby pin
- The suggested colors are just that, a suggestion, so if you would rather use a different color combination, go crazy
Directions
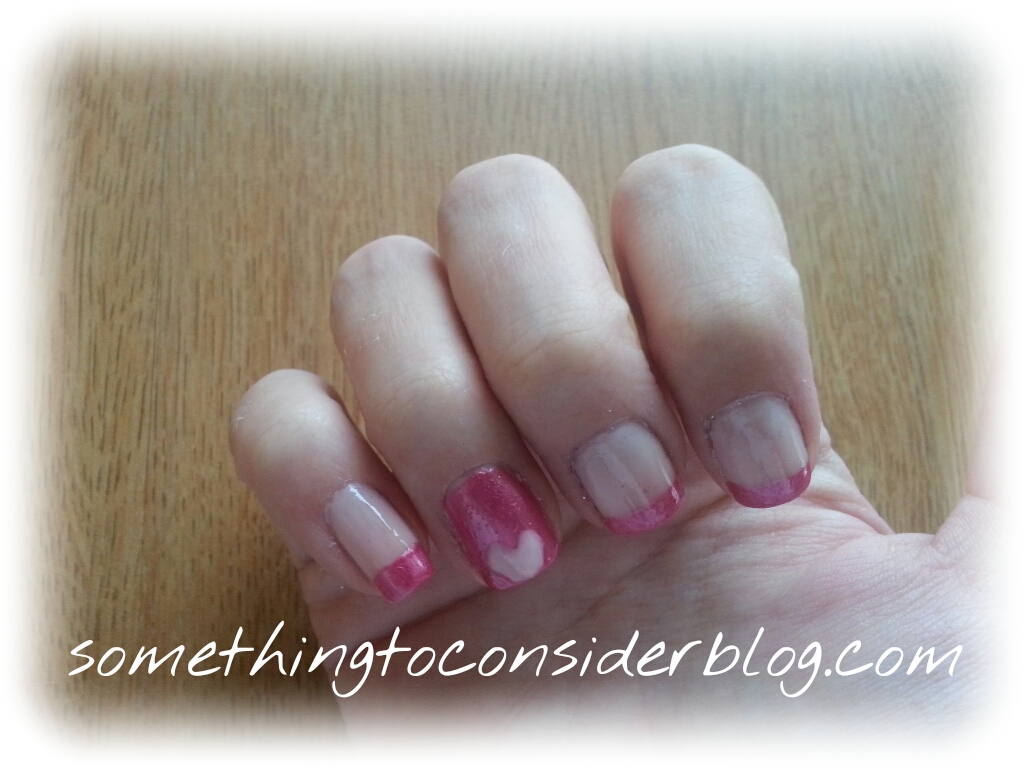
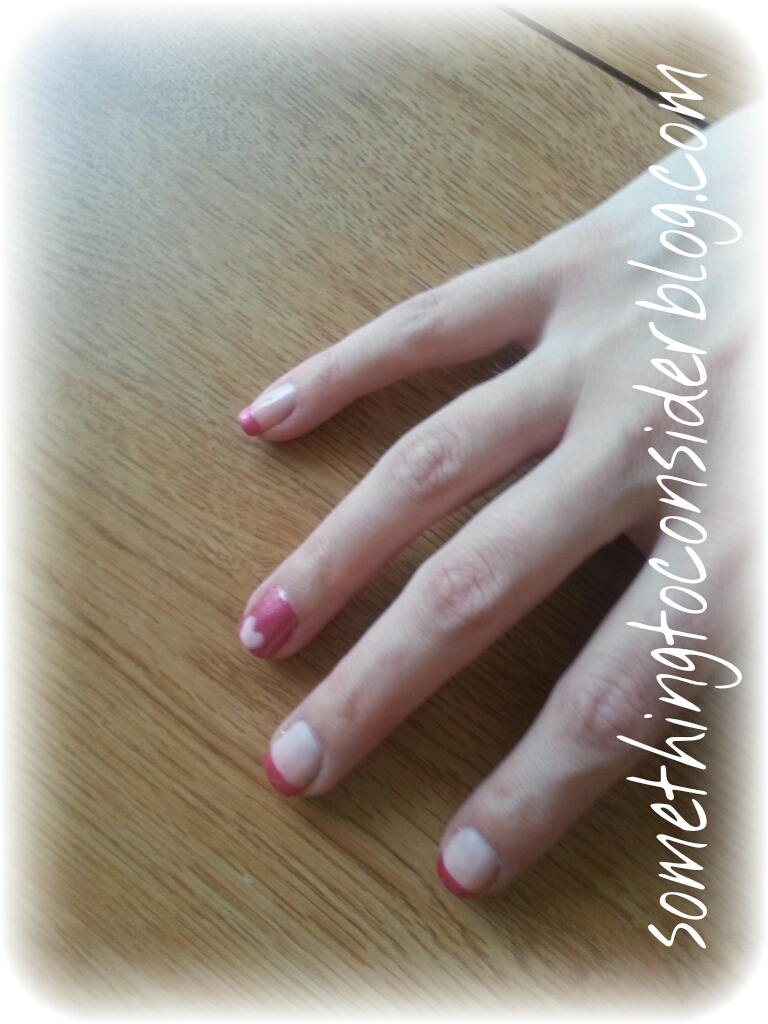
To watch the video of the application, see below. I first applied the base coat to my nails. Next I applied the pale pink shade on all of my fingers except the accent nails (1-2 coats, enough to give it a smooth look). Next with the hot pink shade I lined the tip of the nails (again except for the accent nails). If you like the look of lighter tips, invert the colors. For sharper lines at the tip, you can place tape over your nails as a guide (just be sure the bottom coats are dry). If your nails are short you can skip the lining of the tip and leave the nails pale pink or add a different accent such as a stripe down the center. For the accent nails, I applied 2 coats of the hot pink polish. After allowing them to dry a bit, I dipped my dotting tool (or instrument of your choice) into the pale pink shade and made 3 dots in a V shape at the top of the nail. Then continuing with a dotting motion, I filled in the V to make the heart. Allow to dry for a few minutes and apply your top coat. If you like the look of more hearts you can reverse my pattern.
Play around with the design and have fun with this cute, flirty look. If you try it let me know in the comments below. Thanks for reading!
Cute Valentine’s Day Nails
Check out my YouTube video tutorial:

This design is so cute and perfect for Valentine’s Day.
– KW
http://musthaveboxes.com/
Thank you, and thx so much for reading! I checked out yr blog as well-very fun!